How to install a heating mat?
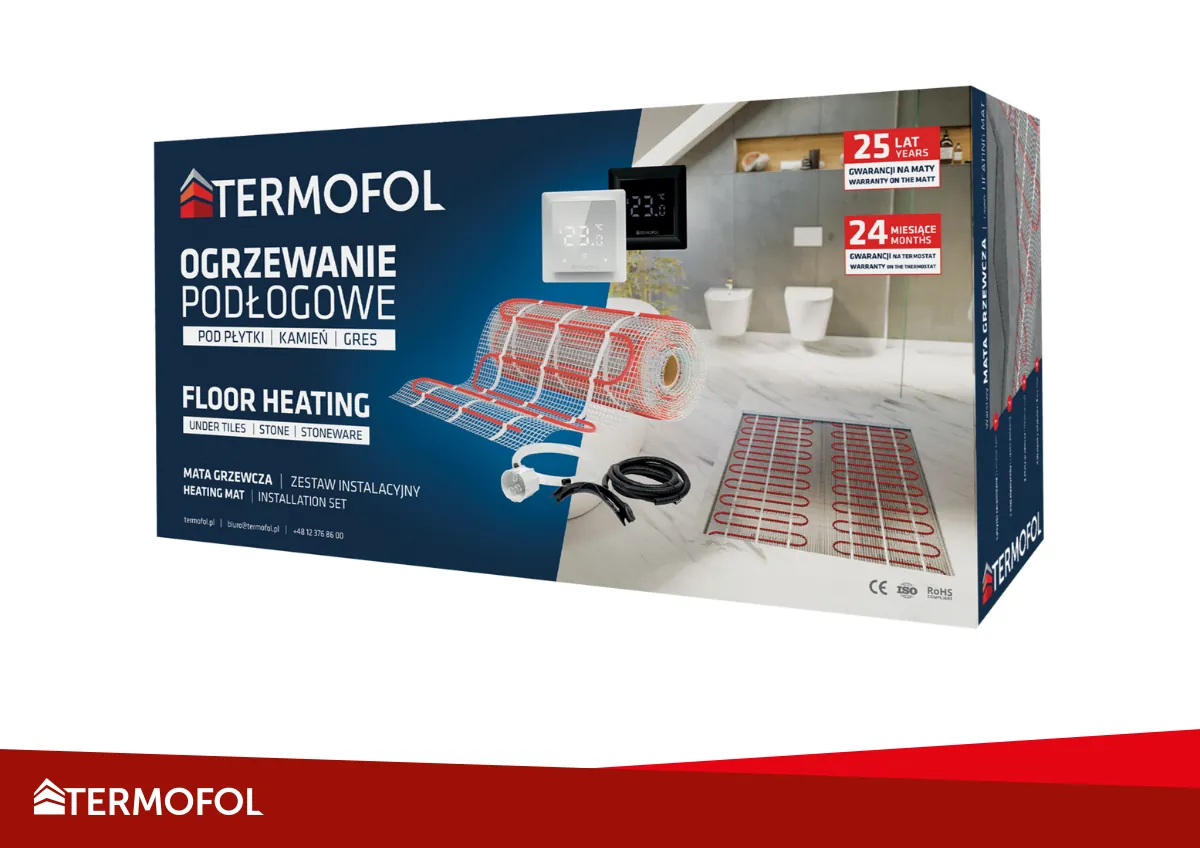
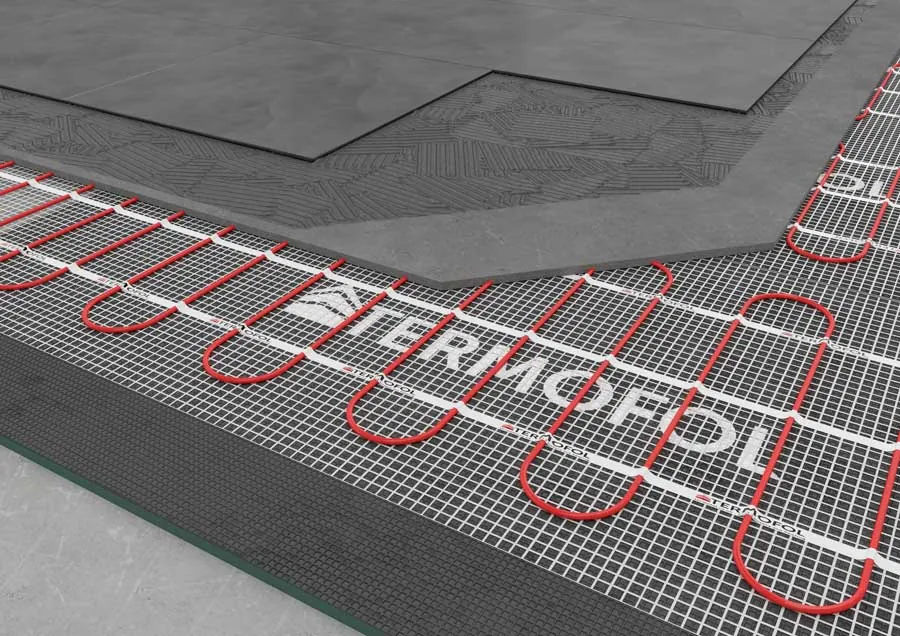
Electric heating mats are one of the simplest and most reliable solutions for underfloor heating. Their popularity is particularly growing in bathrooms and kitchens, where the comfort of a warm floor is appreciated by both private investors and contractors. TERMOFOL heating mats are ready-to-install kits – a heating cable embedded in a fiberglass mesh that simply needs to be unrolled and connected to a thermostat.
In this guide, we will walk you through the installation process step by step, showing not only the order of work but also practical tips and common mistakes to avoid.
⚠️ Note: The electrical connection of the mats to the network should be performed by a qualified electrician with appropriate SEP qualifications. You can prepare the substrate, lay out the mats, and cover them with adhesive and tiles on your own.
1. Preparing the substrate for the installation of heating mats
The substrate is the foundation of the entire system – its quality determines the durability and safety of the heating.
How to prepare the substrate?
- The floor must be clean, level, and vacuumed. Remove dust, dirt, adhesive residues, or paint.
- Level any unevenness with self-leveling compound – the mats must lie flat.
- Prime the surface to ensure good adhesion of the adhesive.
- The minimum temperature during installation is +5 °C.
What to watch out for?
- Do not install mats on a damp substrate – moisture poses a risk to the cables and future operation.
- In bathrooms, remember about safety zones – the heating mat cannot be installed in zones 0 and 1 (i.e., inside the bathtub, shower tray, or up to 225 cm above them).
2. Design and layout of the heating mat
Before you unroll the first roll, take a moment to plan the layout. Properly planning where to lay the mat is one of the absolutely key elements of a correctly executed installation.
Design rules:
- Consider fixed installations – the mat cannot be placed under a bathtub, washing machine, refrigerator, or furniture without legs.
- Maintain a minimum 10 cm gap from the walls.
- If the mat needs to change direction, cut the fiberglass mesh, but never the heating cable.
Pro tip: Draw the layout on paper or directly mark the areas with painter's tape on the floor – this will help you control the placement. After installation, it is good to take photographic documentation to know exactly where the heating cable is located and how the mat is laid under the floor in the future.
3. Installation of the sensor and installation box
The floor sensor is an essential component for the proper functioning of the system – it protects the mat from overheating and ensures accurate temperature control.
How to install?
- Create a groove in the floor and insert a protective tube (conduit) into it.
- Place the sensor in the conduit and finish the tube with a cap – this will protect against moisture and allow for future replacement.
- The sensor should lie centrally between the heating cables, usually about 40–60 cm from the wall.
- Place the installation box for the thermostat at a height of 120–140 cm above the floor, in a location free from heat sources (e.g., radiators).
4. Unrolling and installing the heating mat
The mat is easy to unroll – the cable is already factory-embedded in the mesh.
Step by step:
- Unroll the mat on the prepared substrate and leave it for about an hour to allow the mesh to straighten out.
- Lay it according to the design, running the cable parallel, without crossing.
- If changing direction, cut the mesh and turn the mat so that the cable lays naturally, without sharp bends.
- Right angles or curves are acceptable – it is important not to damage the cable.
5. Measuring the resistance of the heating mat
Each stage of work requires electrical checks – this is a condition for the warranty.
Three mandatory measurements:
- Before laying the mat.
- After it has been laid on the substrate.
- After finishing the tile laying.
Values should be within a tolerance of ±10%. Record the results in the warranty card – this is official confirmation of correct installation.
6. Sealing the mat with adhesive
This is the stage where the mat is permanently embedded in the adhesive layer.
How to do it?
- Use flexible adhesive for underfloor heating, preferably with a plasticizer additive.
- Apply the adhesive with a plastic trowel, never a metal one – to avoid damaging the cables.
- Ensure that the adhesive completely envelops each cable.
- Leave the surface to dry for at least 24 hours.
7. Finishing the floor with heating mats
Once the adhesive has dried, you can proceed to laying the tiles.
Rules:
- On the adhesive layer, lay ceramic tiles on an additional thin layer of mortar (about 5–8 mm).
- Do not cut or break tiles directly on the floor with the mat – there is a risk of damaging the cable.
- After grouting, use soft sponges and trowels, avoiding sharp tools.
8. Connecting the thermostat
This task is for an electrician. Modern thermostats are advanced devices that allow for effective management of the heating system's operation. In the case of models equipped with a WiFi module, it is possible to control their operation from anywhere. Thanks to sensors, thermostats effectively reduce energy consumption by optimizing the operation of the installed heating.
Requirements:
- Connection according to the manufacturer's diagram.
- The installation must be protected by a type A residual current device.
- In bathrooms, the thermostat must have a minimum protection of IP21 and be placed outside zones 0 and 1.
Common mistakes to avoid when installing heating mats
- Attempting to shorten the heating cable – this is completely prohibited.
- Lack of conduit for the floor sensor – prevents future replacement.
- Using metal tools when spreading adhesive.
- Installation under fixed structures or heavy furniture without clearance.
- Skipping resistance measurements – this means loss of warranty.
FAQ – Frequently Asked Questions about TERMOFOL Heating Mats
Can the heating cable be cut?
No. Only the fiberglass mesh can be cut to fit the shape of the mat to the room.
Can mats be installed in the bathroom?
Yes, but only in zones 2 and 3 (minimum 60 cm from the bathtub or shower cabin). The thermostat must have IP21 protection and be outside zones 0 and 1.
How many days after installation can the heating be turned on?
Only after 25 days from the completion of the floor, according to the startup schedule.
Can mats be installed under furniture?
No. Mats can only be laid under surfaces free from fixed installations.
What type of flooring works best with heating mats?
Ceramic tiles are most commonly used. It is important to use flexible adhesive dedicated to underfloor heating.
TERMOFOL heating mats TERMOFOL are a modern and convenient way to achieve comfortable underfloor heating. With easy installation, high efficiency, and reliability, they are suitable for both new investments and the modernization of existing interiors.
The key to success is careful preparation of the substrate, correct placement of the mats, performing resistance measurements, and patience during the first startup. By avoiding common mistakes and following the above guide, you can enjoy a warm floor for many years – safely and reliably.
 +48 12 376 86 00
  Downloads
  biuro@termofol.pl


 Blog Termofol
 Published: September 19, 2025
  Reading time: 6 minutes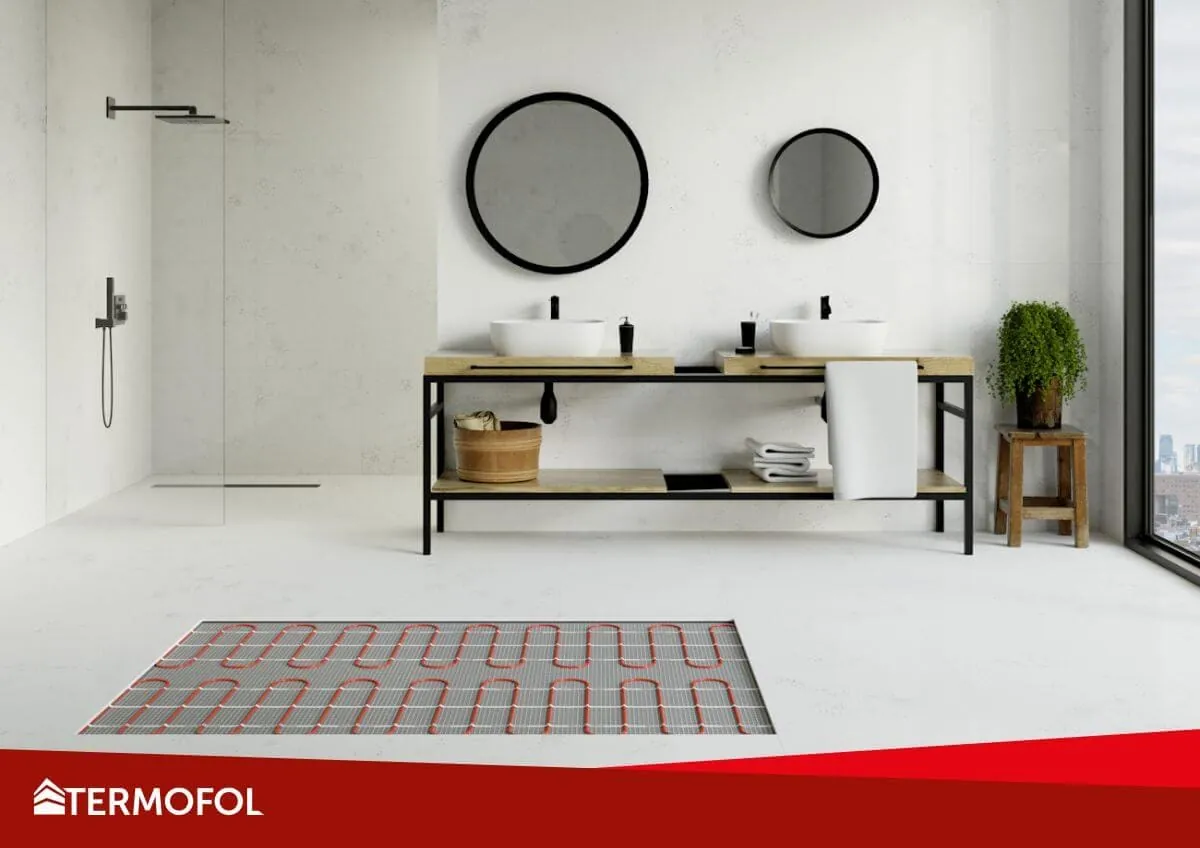
 General information